Full Stack Web Components
This guide will walk through an application in which we server render Web Component through a "fragments" API with WCC generating the HTML, while also re-using that same custom elements definition on the client so we can re-use it for interactivity too. All through the power of web standards! 💯

You can see the full example, deploying to Vercel, in our demonstration repo (opens in a new window).
Objective
As alluded to in the intro, our goal here is to leverage a custom element that we can use on the client (for interactivity) and the server (for templating). For this example, we will be creating a card component that renders content based in attributes set on it, as well as a <button> tag that will display the product details when clicked.
We will demonstrate this through two user experiences:
- Products Page - A dynamically server rendered page listing all the products in a card
- Search Page - A static HTML page with a
<form>for submitting the user's search term to a backend API and render the results to the page
Card Component
Let's first start with our card component, which takes title and thumbnail attributes and generates a custom template from that. It also pulls in a stylesheet as a CSS Module Script.
button {
  padding: 1rem 2rem;
  border: 0;
  font-size: 1rem;
  border-radius: 5px;
  cursor: pointer;
}

img {
  max-width: 500px;
  min-width: 500px;
  width: 100%;
}

h3 {
  font-size: 1.85rem;
}
import sheet from "./card.css" with { type: "css" };

const template = document.createElement("template");

export default class Card extends HTMLElement {
  selectItem() {
    // in our full example we call out to a CustomEvent
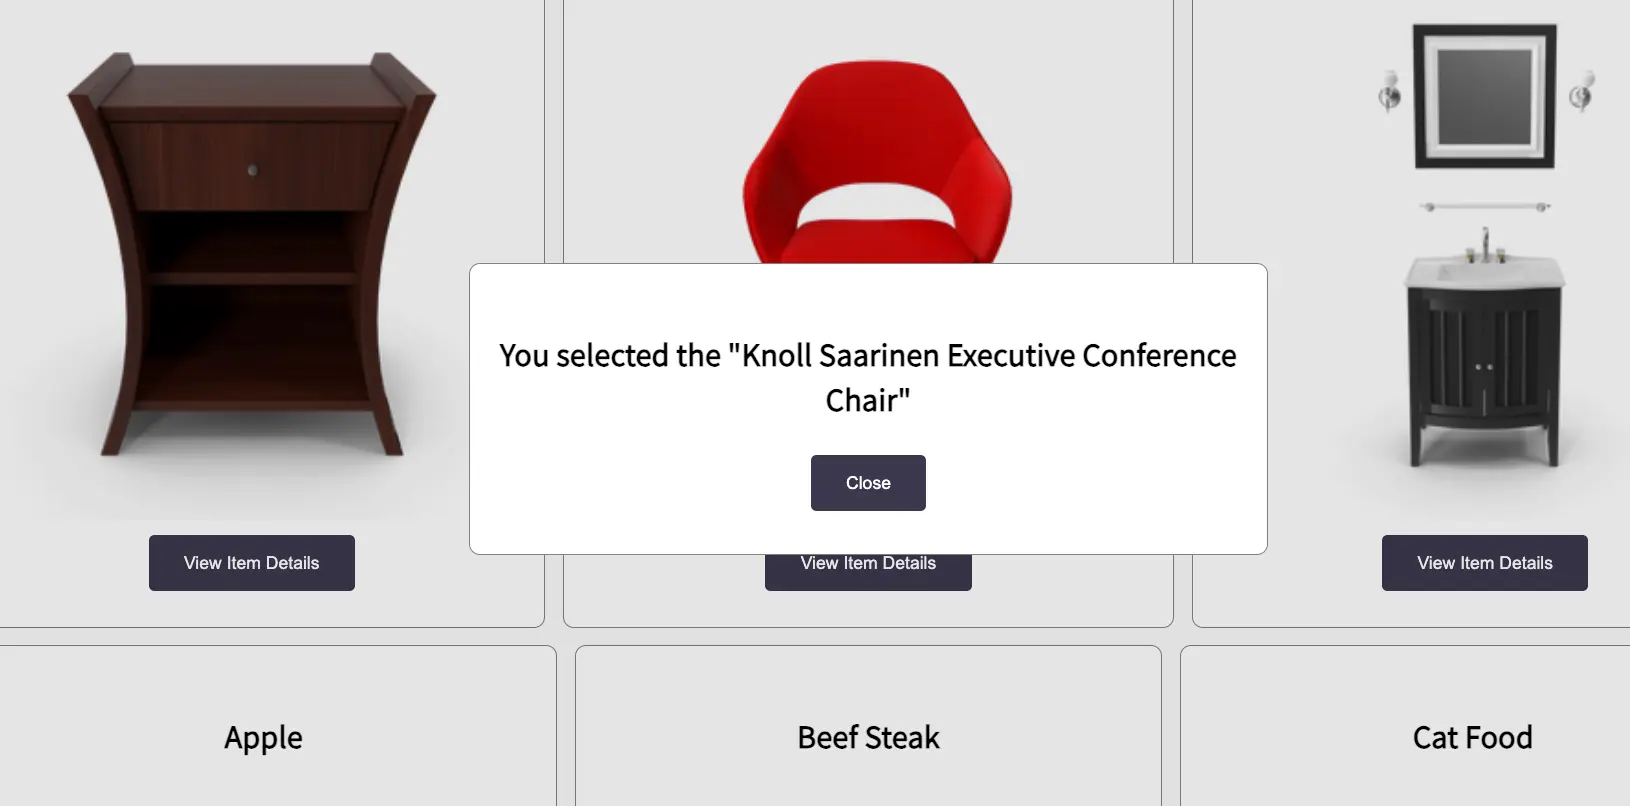
    alert(`You selected the "${this.title}"`);
  }

  connectedCallback() {
    if (!this.shadowRoot) {
      const thumbnail = this.getAttribute("thumbnail");
      const title = this.getAttribute("title");

      template.innerHTML = `
        <div>
          <h3>${title}</h3>
          <img src="${thumbnail}" alt="${title}" loading="lazy" width="100%">

          <button onclick="this.getRootNode().host.selectItem()">View Item Details</button>
        </div>
      `;
      this.attachShadow({ mode: "open" });
      this.shadowRoot.appendChild(template.content.cloneNode(true));
    }

    this.shadowRoot.adoptedStyleSheets = [sheet];
  }
}

customElements.define("app-card", Card);
Search API
Next we'll make a "fragments" based API route that we'll call to on the Search page. When the user submits the <form> on the Search page for a product, a request from the client will be made to this endpoint to filter through the products and if there are any matches, will return the response as an HTML payload by server rendering Web Components.
// we pull in WCC here to generate HTML fragments for us
import { renderFromHTML } from "wc-compiler";
import { getProductsBySearchTerm } from "../../services/products.js";

export async function handler(request) {
  // use the web standard FormData to get the incoming form submission
  const formData = await request.formData();
  const term = formData.has("term") ? formData.get("term") : "";
  const products = await getProductsBySearchTerm(term);
  let body = "";

  if (products.length === 0) {
    body = "<span>No results found.</span>";
  } else {
    const { html } = await renderFromHTML(
      `
      ${products
        .map((item, idx) => {
          const { title, thumbnail } = item;

          return `
            <app-card
              title="${idx + 1}) ${title}"
              thumbnail="${thumbnail}"
            ></app-card>
          `;
        })
        .join("")}
    `,
      [new URL("../components/card/card.js", import.meta.url)],
    );

    body = html;
  }

  return new Response(body, {
    headers: new Headers({
      "Content-Type": "text/html",
    }),
  });
}
Search Page
For the Search page, we'll just need to set the page up with a <form> for the user to input their search term and an event handler to submit the form (also using FormData!) and inject the response into the DOM.
<html>
  <head>
    <script>
      globalThis.addEventListener("DOMContentLoaded", () => {
        globalThis.document.querySelector("form").addEventListener("submit", async (e) => {
          e.preventDefault();

          // with FormData we can pass the whole <form> to the constructor
          // and send a URL Encoded request to the API backend
          const formData = new FormData(e.currentTarget);
          const term = formData.get("term");
          const html = await fetch("/api/search", {
            method: "POST",
            body: new URLSearchParams({ term }).toString(),
            headers: new Headers({
              "content-type": "application/x-www-form-urlencoded",
            }),
          }).then((resp) => resp.text());

          // we use DOMParser to get our response as a DOM element
          // and then inject its contents into the page
          const fragment = new DOMParser().parseFromString(html, "text/html", {
            includeShadowRoots: true,
          });

          document.getElementById("search-products-output").innerHTML = fragment.body.innerHTML;
        });
      });
    </script>
  </head>

  <body>
    <h1>Search Page</h1>

    <form>
      <label for="term">
        <input type="search" name="term" placeholder="a product..." required />
      </label>
      <button type="submit">Search</button>
    </form>

    <div id="search-products-output" class="products-cards-container" aria-live="polite"></div>
  </body>
</html>
Products Page
For the Products page, we just need to get our products and render them out into card components.
import "../components/card/card.js";
import { getProducts } from "../services/products.js";

export default class ProductsPage extends HTMLElement {
  async connectedCallback() {
    const products = await getProducts();
    const html = products
      .map((product) => {
        const { title, thumbnail } = product;

        return `
          <app-card
            title="${title}"
            thumbnail="${thumbnail}"
          >
          </app-card>
        `;
      })
      .join("");

    this.innerHTML = `
      <h1>Products Page</h1>

      <div class="products-cards-container">
        ${html}
      </div>
    `;
  }
}
App Layout
Since we will want to put our card component on all pages, its easiest to create an app layout and include the card component in a <script> tag.
<!doctype html>
<html lang="en" prefix="og:http://ogp.me/ns#">
  <head>
    <title>Greenwood Demo - Full Stack Web Components</title>
    <script type="module" src="/components/card/card.js"></script>
  </head>

  <body>
    <!-- header, navigation, footer, etc -->
  </body>
</html>
So with everything put together, this is what the final project structure would look like.
src/
  components/
    card/
      card.js
      card.css
  layouts/
    app.html
  pages/
    api/
      search.js
    products.js
    search.html
Conclusion
In this tutorial we demonstrated a hybrid rendered application in Greenwood, leveraging a custom element definition usable on both the client and the server all using normal web standards.

If you like this approach, make sure to check out our full demo repo (opens in a new window) and our guide on using something like htmx to further embrace this more hypermedia focused architecture.